What goes into designing a chicken coop? It depends on your needs.
When I built our first chicken coop it had to be a design that would be
big enough to house all of our chickens but small enough to not
overwhelm our back yard.
Today we have a guest post from my wife regarding the radish seed harvest:
How do you know when a radish plant has wrapped up it's reproductive cycle and is ready for the harvesting of seeds? Let us examine our plant.
Well, the radish was basically falling over at this point and overall looking quite sad. There were not that many green leaves left and the honey bees had long ago stopped visiting. Flower petals were scattered on the ground. The pods that had formed were in some cases browning in color, not exactly on the dry side, and while some pods were easy to snap off, others were not. Additionally, a majority of the pods were still looking green overall. Several spiders had taken up residence and were scaring away the human children. The plant was tipping over even after bracing. The hot sun and afternoon thunderstorms were not necessarily drying out the pods, and it was languishing in the garden in the heat. In other climates the onset of cold weather would help this plant finish up it's cycle, but since we do not have winters here, this plant was trying to keep up staying alive while at the same time producing it's seeds. To us, it was in some sort of state of limbo. What to do?
A quick scan over on YouTube did not yield much help as far as when to know for sure that it is time to harvest the seeds. Although I did watch a video and learn that people eat the green pods and that they are quite delicious. We did not do this. So onto the open internet I went and found here a helpful resource. Additionally, I also own this book by Suzanne Ashworth. This book is a good resource overall regarding the harvesting of seeds of any plant.
So here we go. Time to pull the plant.
We had several barefoot "Site Supervisors" running around underfoot ensuring the job was being done properly. There was a lot of propping up of shovels.They are ready for a future government job.
Once we separated the seed branches from the main stem, the plant was really beginning to resemble some sort of alien. The site supervisors got busy examining (playing) with what was left and the adults went ahead and began bundling up the separated seed pods with string.
The recommendation is to get these out of the direct sunlight and into a cool dry place. We have a semi-warm moist place to hang them so that will have to do. This place is also known as the garage. And here we have the final step, where the seed pods are currently hanging out:
As of today, the seeds have been hanging out for maybe 2-3 weeks and everything has really turned brown and dry. You can read more information on our progress with this plant here. The variety of radish that we have been growing is the Cherry Belle. These do have a quite a lot of kick to them.
We hope that you have a very nice Memorial Day weekend with your family and friends. If you decide to serve salad, don't forget the radishes.
One of the selling points of the house we live in was the backyard. We were coming from an upstairs condo. Obviously, there is no yard in a condo community. So when we went looking for houses, our real estate agent would open the door and I would immediately head for the back yard. The size of the house was not as important as the size of the back yard.
I resisted looking at our house at first because it was slightly out of our price range. Our agent told us what he thought we could offer and have a chance. I raised an eyebrow at the number. It was considerably lower than the asking price. Then he said the magic words; "big", "back", "yard". Good enough for me. It was a foreclosure so there was no chance of offending an owner with a low ball offer. Two days later and to my surprise our offer was one of three and was accepted.
I was half stunned and in a daze but my wife didn't miss a beat. She immediately started making plans for garden beds among other things. We added a 4x8 bed right off. We quickly realized that wasn't enough. In went a second, then a third, fourth and fifth. The sixth one I thought I would share with you.
Materials:
4 - 1x4x8 Furring strips (not the normal pine boards, these are cheaper. They run less than $2 for an 8' board.)
1 - 2x4 (I just used some scrap 2x4's in my shop since I only needed 14" to make the four corners.
1-1/2" screws
Cut list:
4 - 1-1/2" x 1-1/2" x 7" boards (I cut a 2x4 to length and then ripped in half on the table saw. 14" makes the four corners.)
8 - 1" x 4" x 48" (Four 1x4 furring strips cut in half. Technically the measurement is 47-15/16". You have to take into account the kerf of the blade.)
I used the table saw to cut 1/4" deep daddos on two sides of each corner. Then I cut the furring strips in equal halves. No need to edge glue the furring strips. Just slide them into the daddos and secure with glue and screws.
Installation:
Step one - Grass or sod removal
We have bermuda grass for our lawn. It is great for Florida lawns. During the dry season it goes dormant. As soon as the rains come back so does the grass. However, this stuff is persistent and invasive. If you do not remove it from under your raised garden beds it will come back to haunt you later.
I remove it not just from under the garden beds but also about 3 or 4 inches beyond the garden bed. It sends out runners from underground and has no issues traveling to your beds. It is a lot of hard work to dig it up and this one 4x4 section took me about an hour to do.
Step two - Set the garden bed in place and fill with dirt.
I failed to pick up enough compost and peat moss to fill the bed. Oh well, just another excuse to go to the toy store, I mean, home improvement store. As if I needed one.
Step four - more filling
Step five - Plant some stuff.
One row of orange bell peppers at the far left and the rest was green beans. We direct sowed the green beans and transplanted the orange bell peppers.
Wanting to get into gardening but not sure if a raised bed is right for you? Don't worry! We have a solution for that. Click here to read about gardening in grow bags! They look great and are so affordable!
If watching videos is more of your thing, then maybe watch the installation of our new garden bed at the new house. We'd love for you to join us on our adventures and subscribe to our channel. Welcome!
Here's hoping for a good harvest.
Happy Homesteading!
All design plans, photos, and video listed and shown herein are exclusively owned by
Cedar Adirondack Chairs. It has been a great project. It pushed me, made me think, tried my patience and gave me a great sense of satisfaction. I learned a lot about what made for a comfortable chair.
The easy route would have been to just find some ready made plans and purchased them. However, that would not afford an opportunity to ask questions. If you do not ask the questions, then you certainly will find no answers. Sometimes you have to ask yourself the hard questions.
Do I want this build to be quick and easy?
OR
Do I want this build to make me better for having done it?
If I would have answered yes to the first question, then I most certainly would have built the chairs differently. The word easy is an attention grabber. Everyone wants easy.
Easy weight loss
Easy hair removal
8 minute abs...cause 8 minutes is easy
Even this website I named, Simply EASY diy. However, I did not throw the word easy in the name because I felt that is what the projects I choose to feature were going to be. I did it to signify a choice. Choosing to push yourself, learn things you may not know and be better at the end of the day than you were at the beginning, should always be an easy one.
I could have
built a square side table. A few cuts here. A few more over there.
Done. However, my belief is if your going to do it yourself; take a step away from easy and add a simple layer of complexity to a project. It can add so much to the end result.
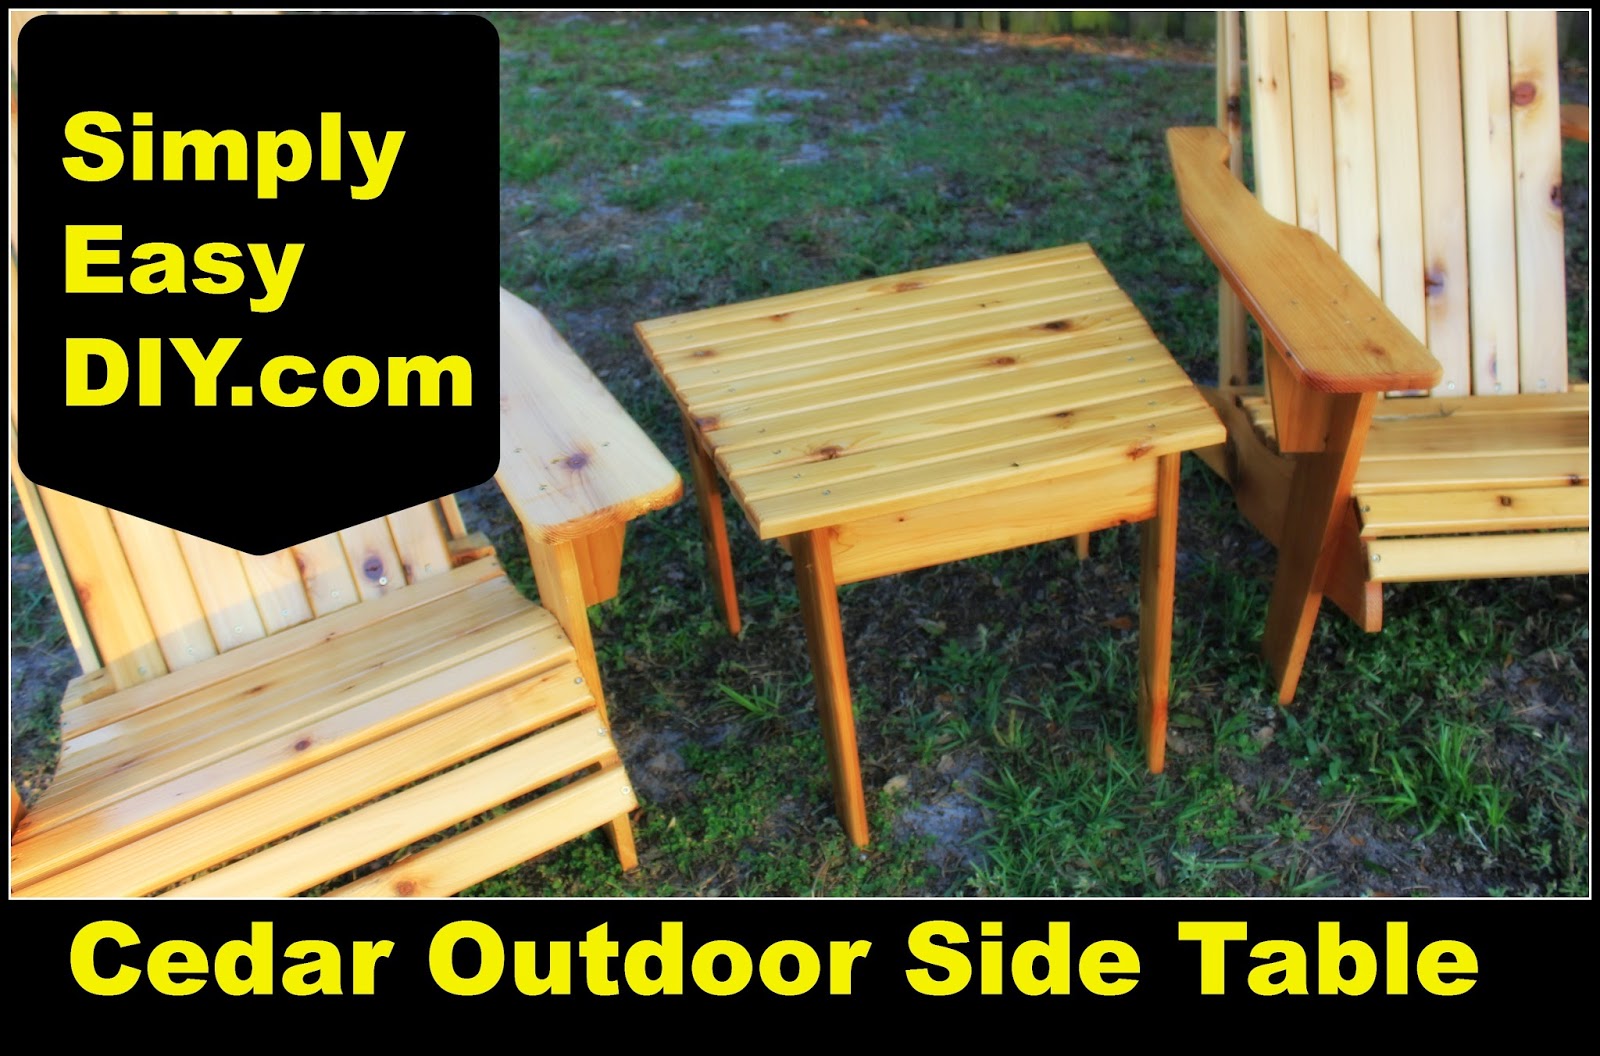
In the case of this cedar Adirondack style side table, a simple 10 degree angle is all it took to add a more inviting look to the whole set.
Materials:
3 - 1x4x8 cedar boards
1-1/4" screws
Cut List:
Top Slats
10 - 1-11/16" x 24" (5 1x4's ripped in half)
Legs
4 - 1x4's @ 17"
Aprons
2 - 1x4's 12.25
1 - 1x4's @ 19-1/2"
1 - 1x4's @ 13-1/2"
Be sure to check me out on YouTube, Facebook and Pinterest. You can find those links in the side bar at the top of the page. I love to see projects that others have done so visit my contact page and shoot an email. Lets admire your good work together.
It has been almost four months since I started the upgrades
to my mobile table saw workstation. If
this is your first time here or if you missed any of the upgrades and
corresponding videos, here you go: